
I was recently required to build a simple Email Editor in K2 SmartForms. I started building the form, added a text area for the body, subject and to text boxes. All well and good so far. All of a sudden, the requirement became much more complex: the end users wanted to add inline images, rich text, more and more. No, we are not going to do it, full stop. But why not? Quite simply, it’s too complicated to complete within SmartForms and would take a lengthy amount of time.
Outlook, on the other hand, has been around for more than 20 years and provides users with functionality to build rich emails (html tables, inline images, multiple attachments, etc). So why bother building an Email Editor in K2 SmartForms to begin with? This is also a simple answer: the client wanted all actions to take place within the K2 SmartForms application.
In this article, I will be covering the integration of sending an email from Outlook and capturing the event of the send button, while K2 SmartForms continues to automatically refreshing ActiveX and JavaScript. The following article assumes you have a good understanding of K2 and its artefacts. We will be creating a SmartObject Smartbox, a List View and adding some Javascript to the List View.
Let’s crack on.
Creating the structure and a ListView
Create the following Person structure as a SmartObject SmartBox and name it Person.SmO.
| Field Name | Field Type |
| ID | Autonumber |
| Name | Text |
| Text | |
| Notified | Yes/No |
 Figure 1: Person SmartObject and its attributes
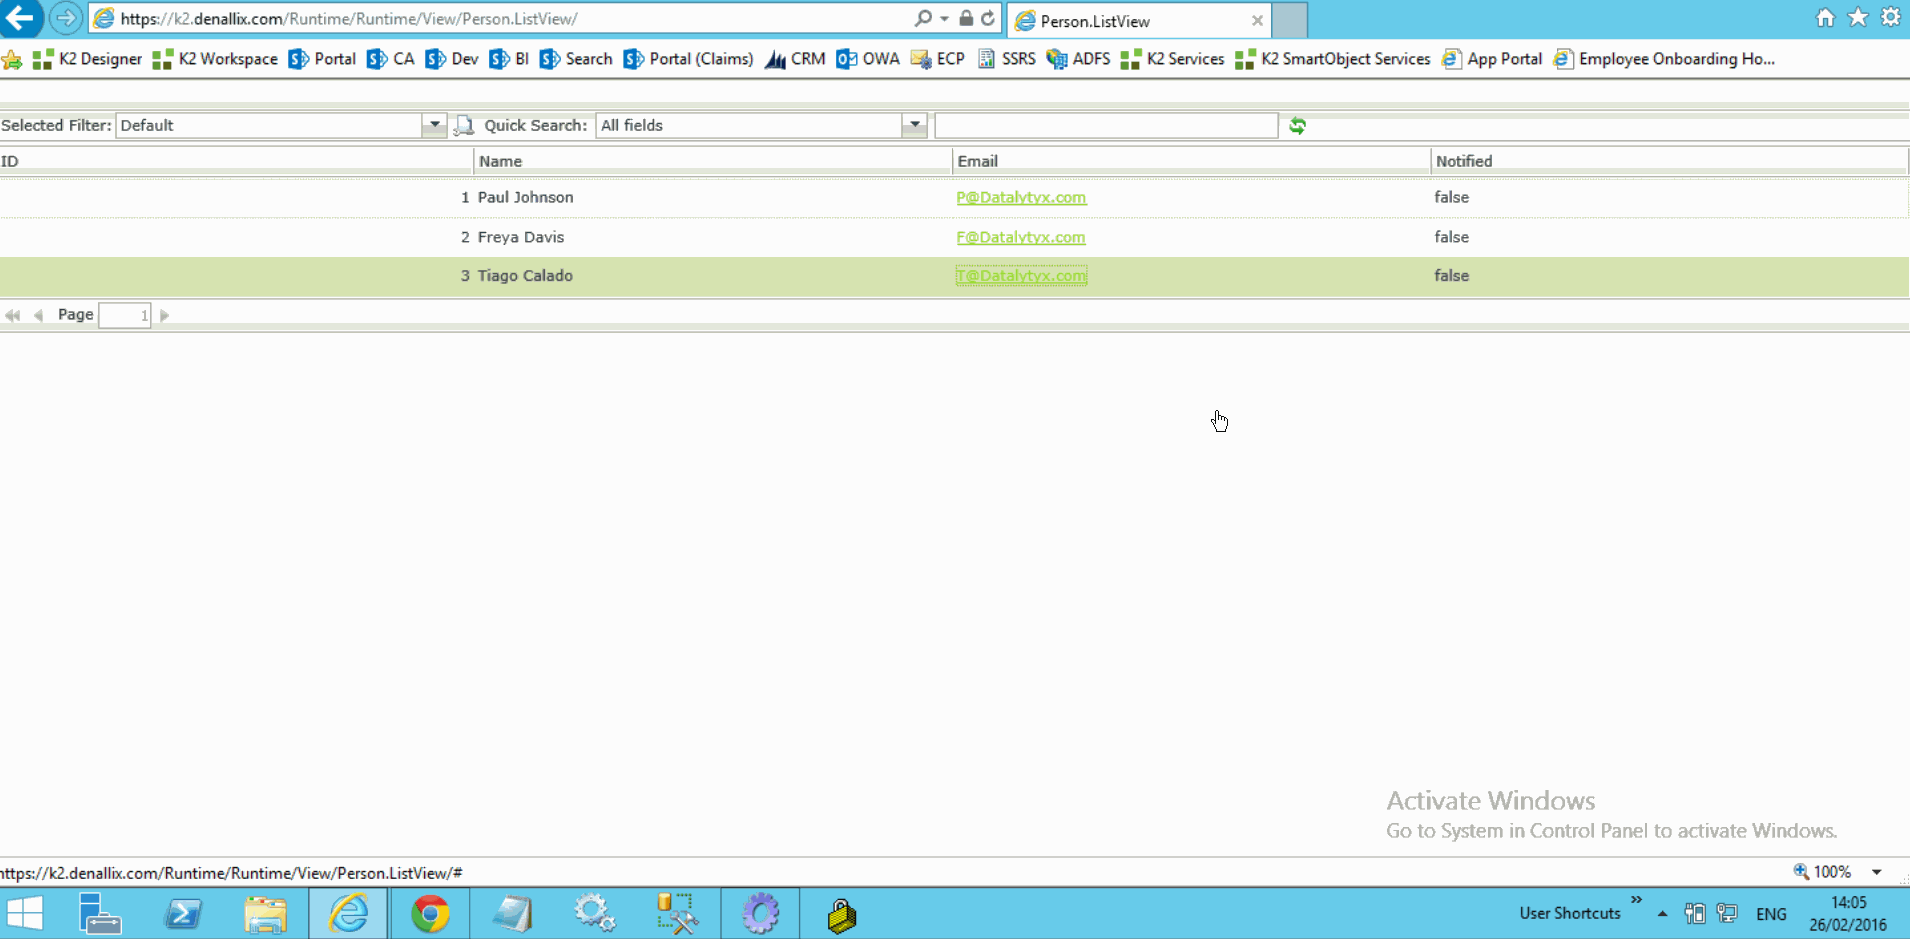
Add the following data, either by inserting directly onto the SQL table or via SmartObject Service Tester.
| Name | Notified | |
| Paul Johnson | P@Datalytyx.com | False |
| Freya Davies | F@Datalytyx.com | False |
| Tiago Calado | T@Datalytyx.com | False |
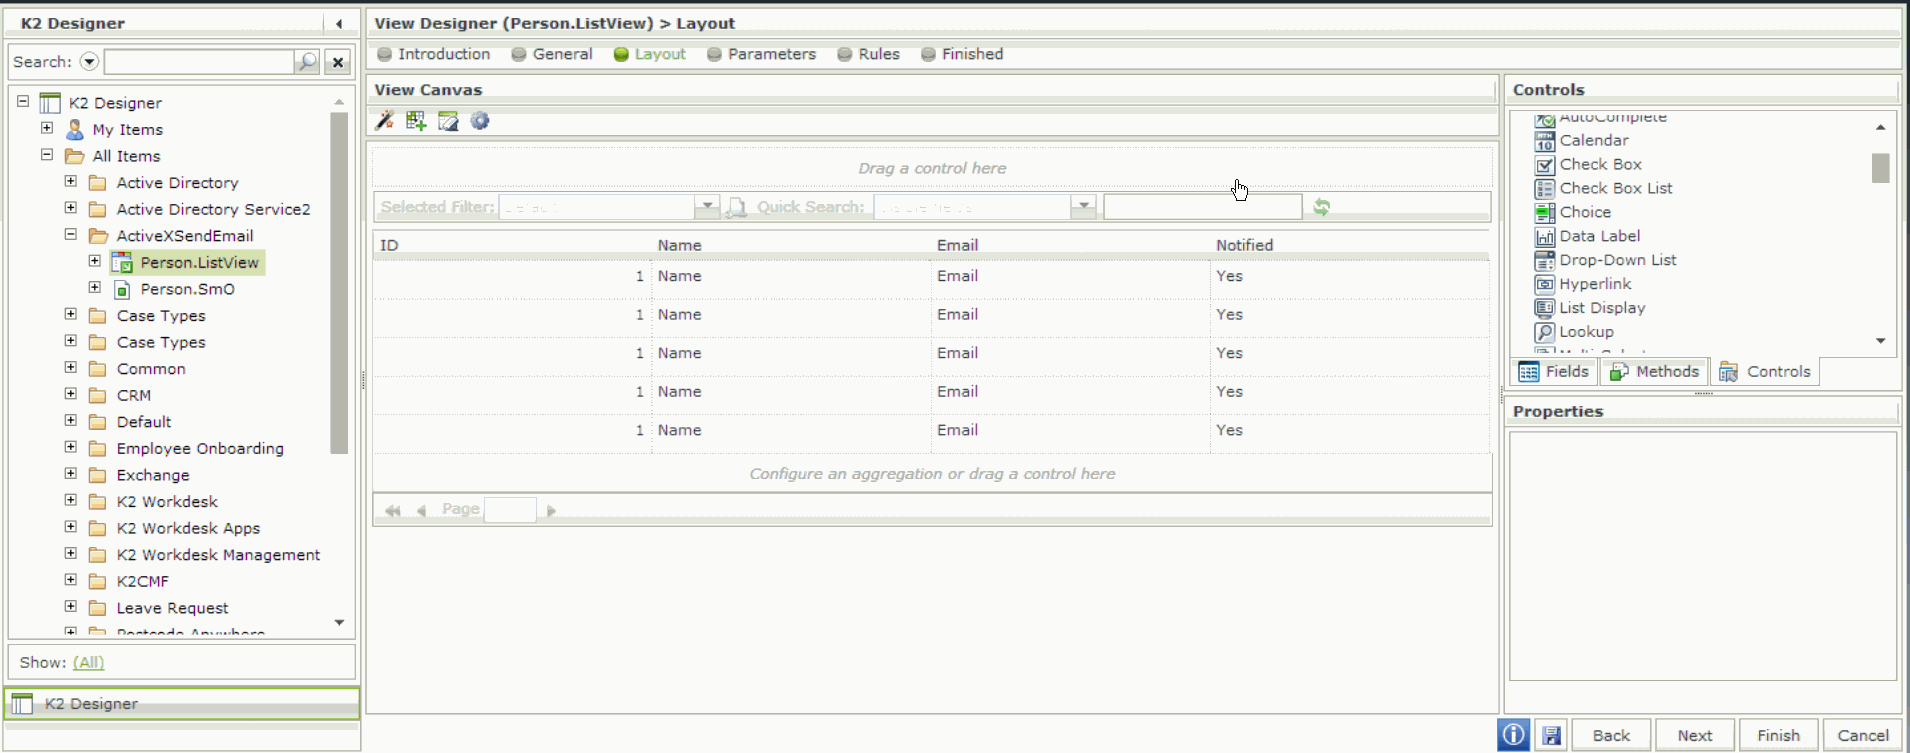
Generate a List View for the Person.SmO and name it Person.ListView.
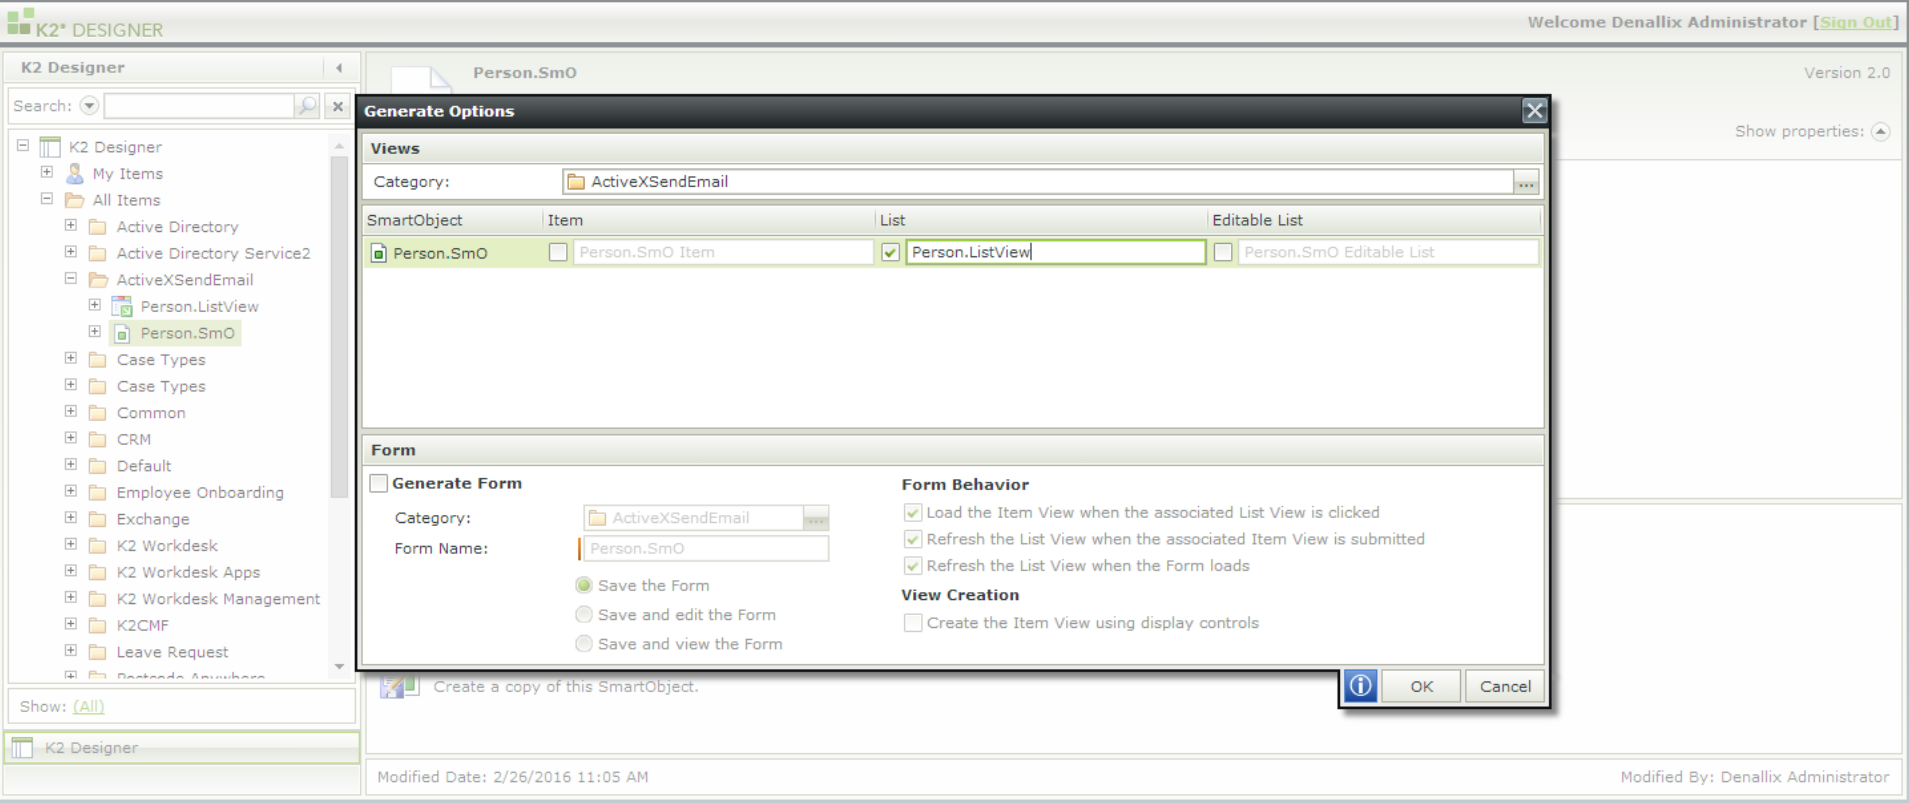 Figure 2: Generating a List View for the Person SmartObject.
Adding the Outlook ActiveX object Javascript to the List View
- Edit the List View in K2 Designer
- Drag and drop a data label onto the canvas
- Make sure the Literal property of the data label is checked
- Create an expression against the data label and name it ActiveXSendEmailExpr
- Copy and paste the following code into the expression:
<script>
var outlook = new ActiveXObject(“Outlook.Application”);
var mailItem = outlook.CreateItem(0);
function SendMail(pEmail) {
var subject = “Notification”;
var body = “Hello, you are being notified !”;
mailItem.To = pEmail;
mailItem.Subject = (subject);
mailItem.Body = (body);
mailItem.Display(0);
}
</script>
<script>
function mailItem::Send() {
$(‘a[name=”btnNotified”]’).click();
}
</script>
The GIF below demonstrates the above steps.![]()
Create the Email Link in the List View
- Select the email column
- Remove the mapping to the Email field
- Make sure the Literal property of the data label is checked.
- Add a new expression and name it EmailCellExpr
- Build the following expression logic:
If([Notified] = True, [Email], <a href=’#’ onclick=’SendMail(“[Email]”)’>[Email]</a>)
The GIF below demonstrates the above steps. 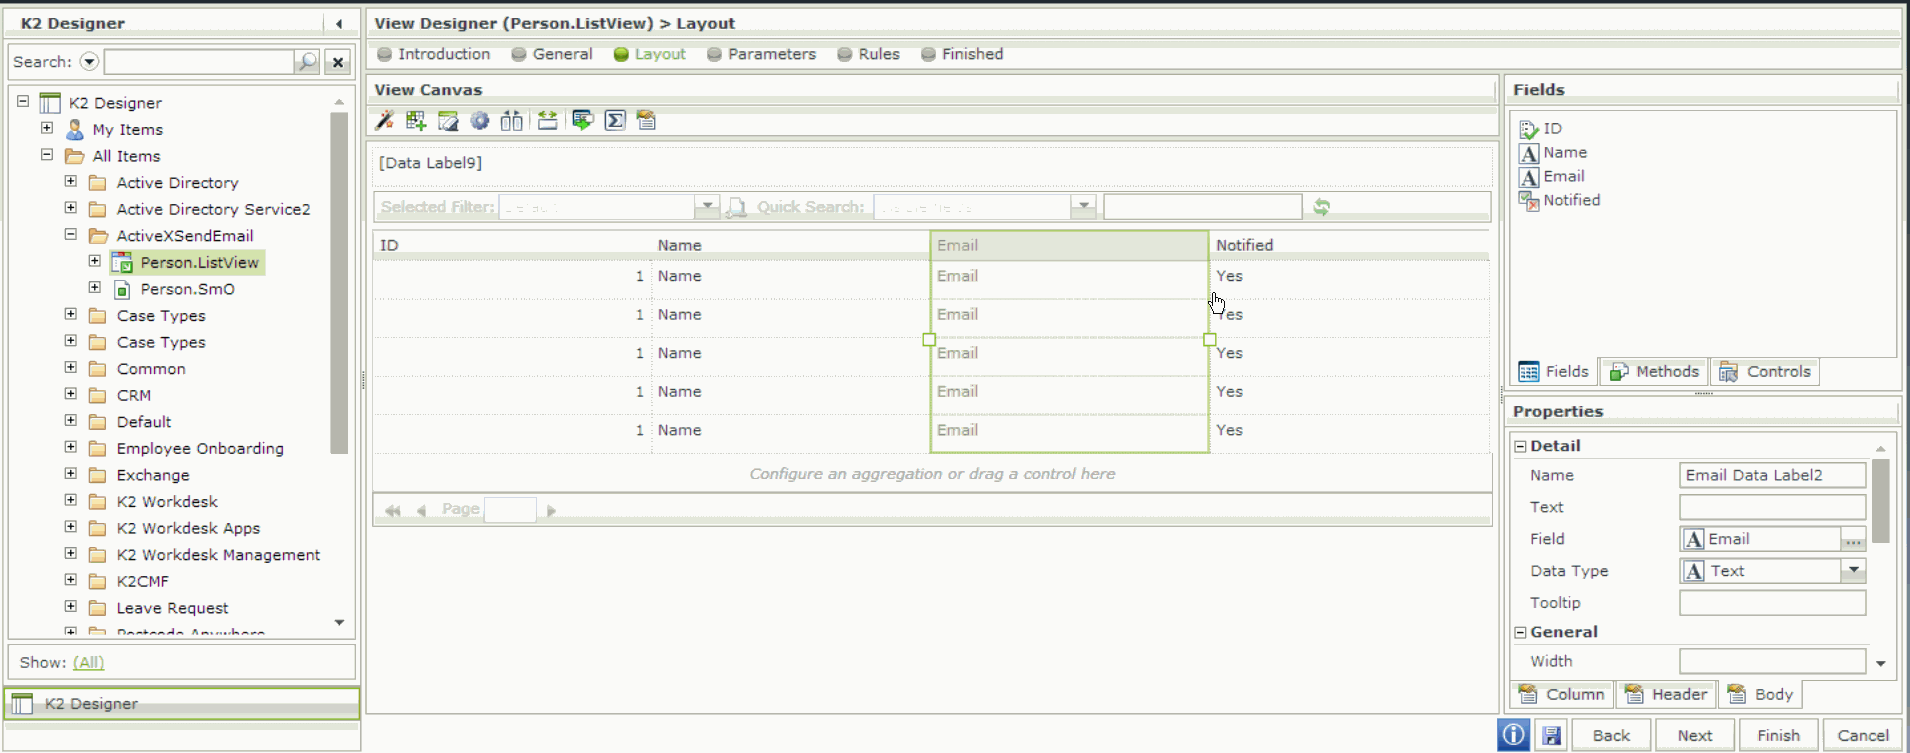
Add a hidden button to perform a data update and list refresh.
Build the logic behind btnNotified
The click on this button will be triggered after the users press the send button in Outlook.
The btnNotified will set the Person notified field as true and refresh the list view:
- Drag and drop a button on top of the list view.
- Name it btnNotified and set it as invisible.
- Add the following rule:
When the button is clicked, execute the Person SmartObject, and save method. Configure it so the ID property is passed to the ID input property and set the value True on the Notified input.
Execute the view List Refresh method. The GIF below demonstrates the above steps. 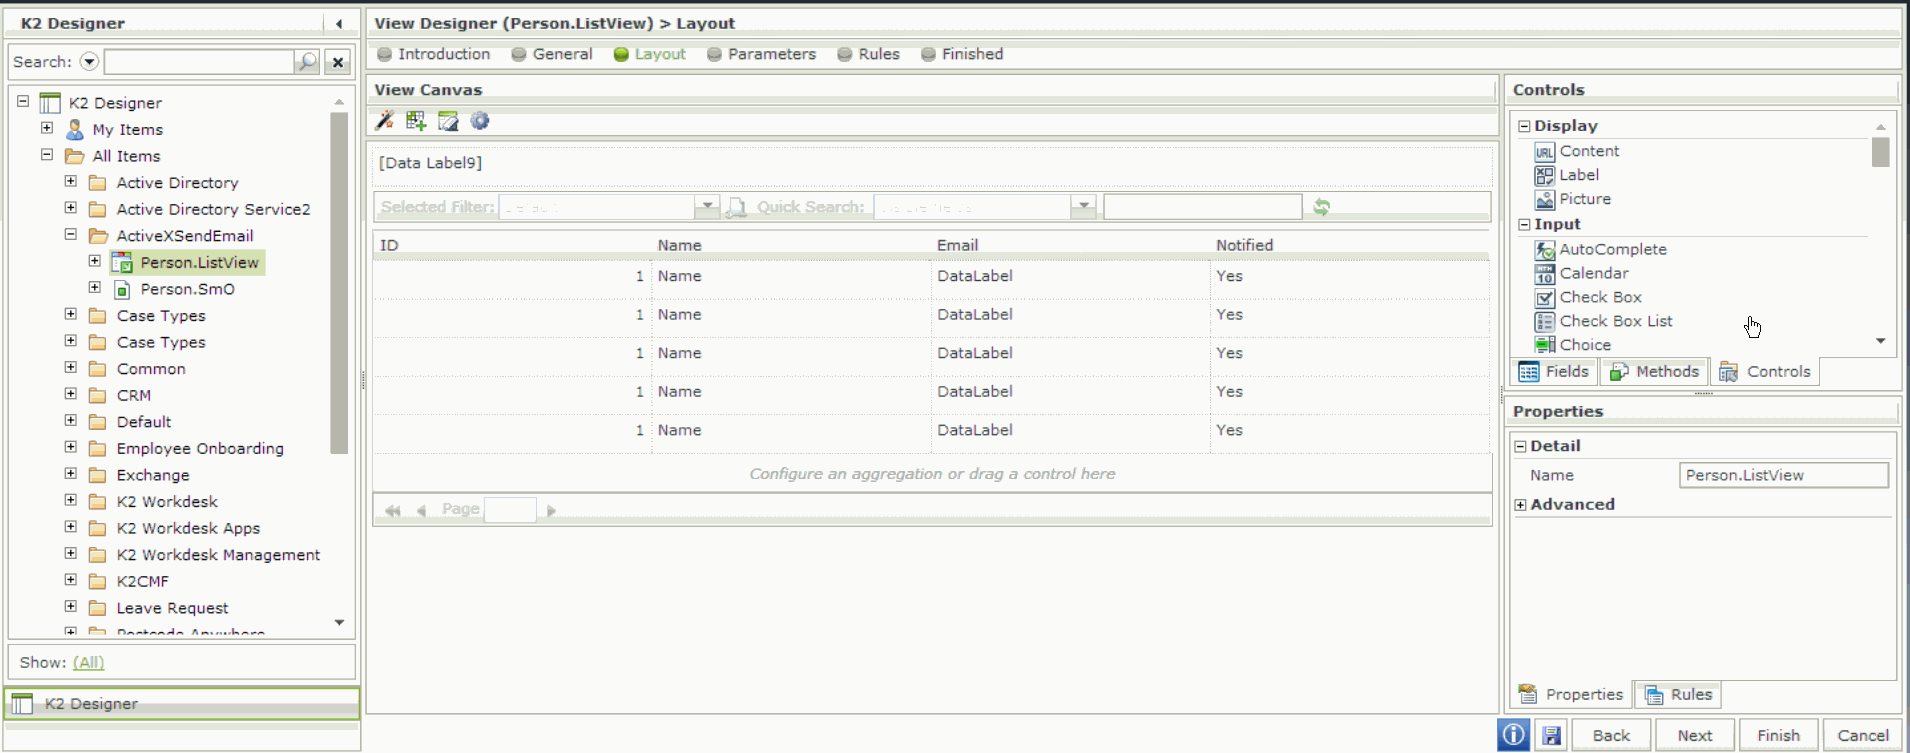
Run! (Bear in mind that ActiveX only runs in Internet Explorer.)
Outlook not opening?
Check your ActiveX settings in Internet Explorer. Please refer to http://windows.microsoft.com/en-gb/windows/help/genuine/ie-activex
I hope this article helped.
Tested in K2 4.6.11, Outlook 2013 and Internet Explorer 11.
0 Comments